Alright, let’s get started. This guide assumes you meet the following prerequisites:
- Fresh Debain 7 64 bit installation (no ‘web server’) or any other packages installed.
- 4 CPU, 1G memory, 250+gb HDD
- SSH, sudo, NTP, and a static IP address configured
- User account streamer with sudo
- DNS SERVER – It is highly recommended you have a local DNS server to handle requests to your server. This will allow the hard-coded URLs in wordpress and the script to continue working even if the IP addressing scheme changes.
Everything can be done to a physical installation or a virtual machine.
Install NGINX-RTMP
First we will install nginx-rtmp from a PPA. These steps are taken from HERE.
sudo apt-get install dpkg-dev
sudo mkdir /usr/src/nginx
cd /usr/src/nginx
sudo apt-get source nginx
sudo apt-get install git-core
sudo git clone https://github.com/arut/nginx-rtmp-module.git
cd nginx-1.2.1/
– Note: This will depend on what version you have. As of this writing, nginx was at 1.2.1.
List the directory. The following files should be shown in /usr/src/nginx/nginx-1.2.1/
sudo nano debian/rules
Add the following to the add-modules configuration.
module=/usr/src/nginx/nginx-rtmp-module \
So it looks like this
--add-module=$(MODULESDIR)/nginx-upstream-fair \
--add-module=$(MODULESDIR)/nginx-dav-ext-module \
--add-module=/usr/src/nginx/nginx-rtmp-module \
sudo apt-get build-dep nginx
sudo dpkg-buildpackage -b
Building the package may take a while.
cd ..
sudo dpkg -i nginx-common_1.2.1-2.2+wheezy3_all.deb nginx-full_1.2.1-2.2+wheezy3_amd64.deb
sudo service nginx start
Great! Now we have nginx-rtmp installed on our Debian installation. Next, we will configure some stuff within Nginx!
NGINX-RTMP Configuration for WordPress AND Streaming
Start by changing nginx worker processes to 1. This is to make sure the streaming stats don’t get all screwy.
sudo nano /etc/nginx/nginx.conf
So it looks like this.
user www-data;
worker_processes 1;
pid /var/run/nginx.pid;
Then scroll down and add the following to the end of the file.
rtmp {
        server {
                listen 1935;
                chunk_size 4096;

                application live {
                        live on;
                        record all;
                        record_path /opt/nginx_scripts/live_recording/;
                        record_suffix -%d-%b-%y-%T.flv;
                        record_lock on;
                }
        }
}
Save the file. Next we will make some directories and get some more files.
sudo mkdir /var/www
cd /var/www
sudo wget https://raw.githubusercontent.com/arut/nginx-rtmp-module/master/stat.xsl
sudo chown www-data:www-data stat.xsl
Next we will edit some nginx settings.
sudo rm /etc/nginx/sites-enabled/default
sudo nginx -t
sudo service nginx reload
sudo mkdir sudo mkdir /var/www/wordpress -p
Next we will install PHP and MySQL.
sudo apt-get install php5-common php5-mysqlnd php5-xmlrpc php5-curl php5-gd php5-cli php5-fpm php-pear php5-dev php5-imap php5-mcrypt
sudo su
apt-key adv --keyserver keys.gnupg.net --recv-keys 1C4CBDCDCD2EFD2A

echo "deb http://repo.percona.com/apt `lsb_release -cs` main" >> /etc/apt/sources.list.d/percona.list
echo "deb-src http://repo.percona.com/apt `lsb_release -cs` main" >> /etc/apt/sources.list.d/percona.list

apt-get update
exit
sudo apt-get install percona-server-server-5.6 percona-server-client-5.6
You might get 404 errors with the php PPA stuff.. It doesn’t officially support debian. Create a password for percona when it prompts.
mysql -u root -p -e 'create database wordpress'
mysql -u root -p -e "create user 'wordpress'@'localhost' identified by 'PASSWORD';"
mysql -u root -p -e "grant all privileges on wordpress.* to 'wordpress'@'localhost';"
Great, now we have a sql database configured for wordpress!
sudo nano /etc/nginx/sites-available/wordpress
Place the following information into the file. Change as necessary
server {
    listen 80;
    server_name _;
    access_log   /var/log/nginx/wordpress.access.log;
    error_log    /var/log/nginx/wordpress.error.log;
    root /var/www/wordpress;
    index index.php;
    location / {
            try_files $uri $uri/ /index.php?$args;
    }

    location ~ \.php$ {
            try_files $uri =404;
            include fastcgi_params;
            fastcgi_pass unix:/var/run/php5-fpm.sock;
    }

    location /viewers {
            rtmp_stat all;
            rtmp_stat_stylesheet stat.xsl;
    }
    location /stat.xsl {
            root /var/www/;
    }
    location /rec {
            autoindex on;
    }
}
sudo ln -s /etc/nginx/sites-available/wordpress /etc/nginx/sites-enabled/
sudo rm /etc/nginx/sites-available/default
sudo nginx -t && sudo service nginx reload
Okay, we are pretty much finished with nginx configuration! Time for installing and customizing WordPress!
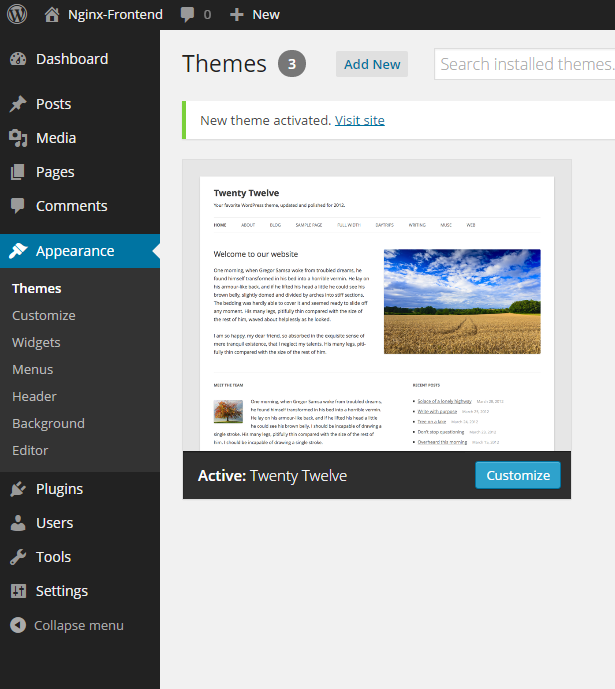
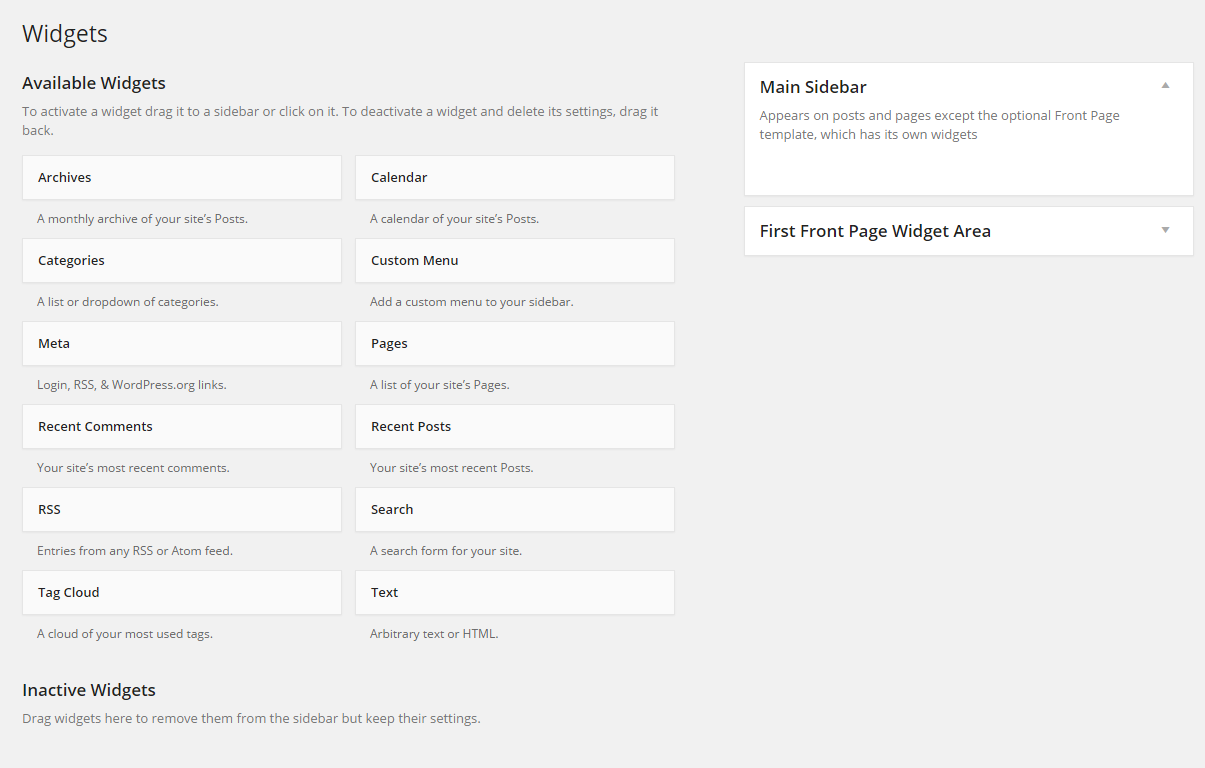
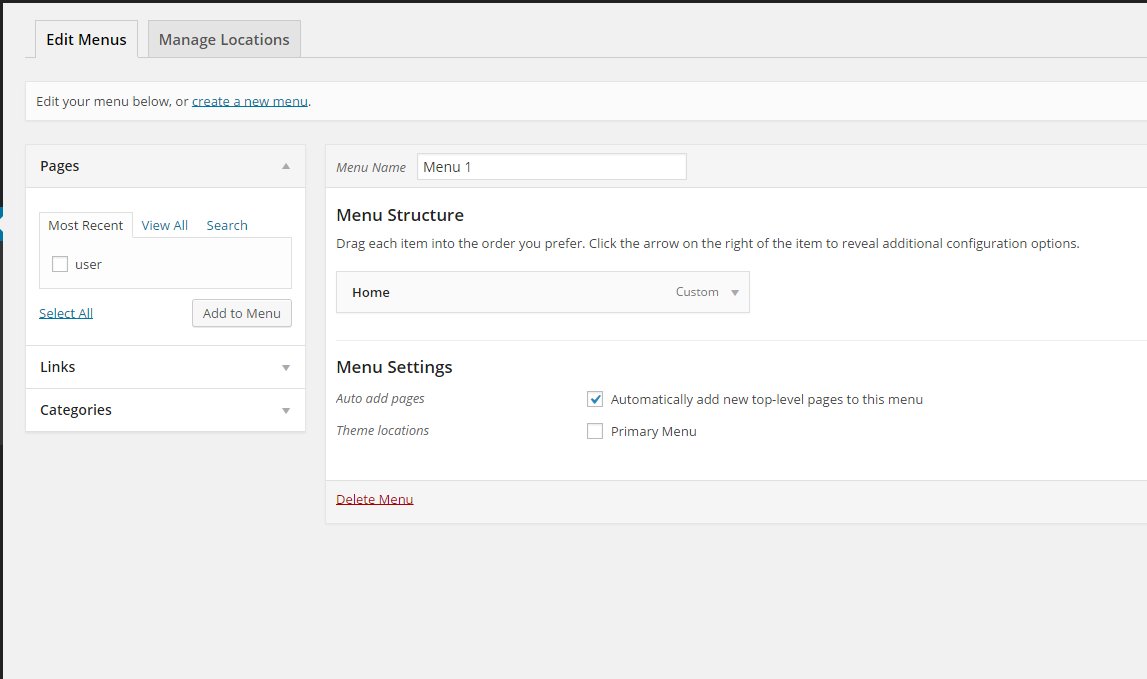
WordPress installation and configuration
I assume that you will be able to install WordPress on the server. There are probably hundreds of guides on the internet explaining it.
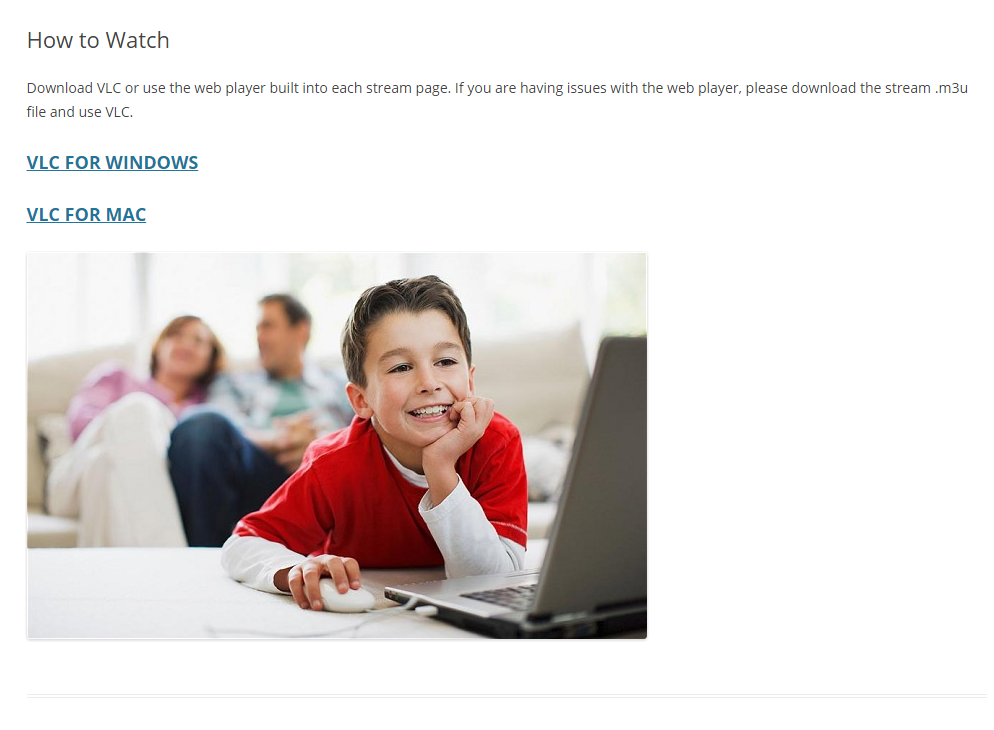
After installing it, you should be at your admin window. Follow THIS GUIDE I wrote earlier to customize WordPress for an RTMP frontend.
Additional Utilities and directories
After configuring WordPress, we still need to add some more utilities and directories to the server.
First we will create a directory to hold the scripts. These will be the heart of the server.
sudo mkdir /opt/nginx_scripts
sudo chown www-data:www-data -R /opt/nginx_scripts
cd /opt/nginx_scripts
sudo wget https://raw.githubusercontent.com/wp-cli/builds/gh-pages/phar/wp-cli.phar
sudo chmod +x wp-cli.phar
sudo mv wp-cli.phar /usr/local/bin/wp
sudo apt-get install xmlstarlet ffmpeg
sudo mkdir /var/www/wordpress/assets
sudo mkdir /var/www/wordpress/rec
sudo mkdir /var/www/wordpress/rec/mp4
sudo mkdir /var/www/wordpress/jwplayer
cd /var/www/wordpress/jwplayer
cd /var/www/wordpress/jwplayer
sudo wget https://www.willstare.com/wp-content/uploads/2014/12/jwplayer.tar
sudo tar -xvf /var/www/wordpress/jwplayer/jwplayer.tar
sudo chown www-data:www-data -R /var/www/wordpress/assets
sudo chown www-data:www-data -R /var/www/wordpress/rec
sudo chown www-data:www-data -R /var/www/wordpress/jwplayer
Great, now we can add the scripts! First we will create the nginx_watcher script. This will listen for new RTMP streams, and then do some WordPress magic to create a user profile page with the stream information.
sudo nano /opt/nginx_scripts/nginx_watcher.sh
Paste this script in. Make sure the IP/URL’s are correct. Nothing will work unless they are correctly configured.
#!/bin/bash
#MASTER contains a list of registered usernames for the event. To clear it, simply delete the file!
MASTER="rtmp_users.list"
#Enter the IP address of the server. (ex. 10.0.0.10)
IP_ADDRESS=10.0.0.10
#Enter the path to this script. Follow this syntax. Note the absence of a trailing '/' (ex: /home/user/scripts)
SCRIPT_PATH=/opt/nginx_scripts
#Enter the path to your WordPress installation. Follow this syntax. Note the absence of a trailing '/' (ex: /var/www/html)
WP_PATH=/var/www/wordpress
#Enter the URL of the Nginx statistics page. (ex: http://10.0.0.241/stats)
NGINX_STATS=http://10.0.0.10/viewers
#Enter the path to the HTML assets folder. This is where the server will hold the .m3u files. YOU MUST CHOWN this folder! (ex: /var/www/html/assets)
ASSETS=/var/www/wordpress/assets
#Enter the URL to the assets folder. (ex: http://10.0.0.241/assets)
WEB_ASSETS=http://10.0.0.10/assets
#Enter the path to the recording folder. (ex: /var/www/wordpress/rec/mp4)
REC=/var/www/wordpress/rec/mp4
#Enter the rec path. This is where the recordings will be stored. (ex: http://10.0.0.202/rec/mp4)
REC_PATH=http://10.0.0.10/rec/mp4
#Enter the RTMP server path. (ex: rtmp://10.0.0.242/live)
RTMP_PATH=rtmp://10.0.0.10/live
#Optional: Enter the path to a background image for JWPLayer. (ex: http://10.0.0.241/assets/site_logo.png)
IMAGE_PATH=
#Changes directory to the script-path for execution (required for cron)
cd $SCRIPT_PATH
#Creating the master list file.
MASTER="rtmp_users.list"
/bin/touch $MASTER
/bin/touch toadd.list
/bin/rm toadd.list
/bin/touch toadd.list
#Getting the current statistics from the streaming server
wget -O stats.xml $NGINX_STATS
#Parsing the XML file to get all the handles/keys currently streaming. These should correspond with the usernames of the streamers.
xmlstarlet sel -t -m '//name' -v . -n <stats.xml | grep -v live > unsanitized.list
sed -r 's/^\s*(.*\S)*\s*$/\1/;/^$/d' unsanitized.list > livestreams.list
#The loop below cycles through the livestreams.list file and compares each line to the current master list. If it doesn't exist, it adds it to the master list. It also adds it to the list of things we need to add to the website.
while read NAME
do
if ! /bin/grep -Fxq $NAME $MASTER; then
echo $NAME >> $MASTER
echo $NAME >> toadd.list
fi
done <livestreams.list
#Getting the existing post titles and ID's from WordPress. These will be compared to the currently active streams.
/usr/local/bin/wp --path=$WP_PATH post list --post_type=page --fields=ID,post_title > $SCRIPT_PATH/id_title.list
#Loop to find names to add. If they don't exist, a new page is created for them. This will display at the top of the menu. It is currently empty at this stage. Also checks and makes a blog post that will feature recordings from the user.
while read NEW; do
if ! /bin/grep $NEW id_title.list; then
/usr/local/bin/wp --path=$WP_PATH post create --post_type=page --post_status=publish --post_title=$NEW
/usr/local/bin/wp --path=$WP_PATH post create --post_type=post --post_status=publish --post_title=$NEW" Recordings"
fi
done <$MASTER
#The loop below checks to see if the stream is currently live or dead (depends on if its in the livestreams.list file). If its live, it generates a page with the relavent
#stream information customized for the user. If its dead, it will generate a dead page to notify browsers that the user is not currently streaming. This loop will update
# ALL streams in the master_rtmp.list as often as the cronjob is executed.
while read STREAM; do
echo $STREAM
/bin/ls $REC | grep $STREAM > $STREAM.record.list
cat $STREAM.record.list
POST_ID=`/usr/local/bin/wp --path=$WP_PATH post list --fields=ID,post_title | /bin/grep $STREAM | /usr/bin/awk '{print $1}'`
/bin/echo "<html>" >> $STREAM.record.html
/bin/echo "<head>" >> $STREAM.record.html
/bin/echo "<!--more-->" >> $STREAM.record.html
/bin/echo "</head>" >> $STREAM.record.html
/bin/echo "<body>" >> $STREAM.record.html
/bin/echo "<p>EXPERIMENTAL! Use Chrome or Firefox. Fullscreen for higest quality. If there is nothing here, "$STREAM" doesn't have any recordings. Page is regenerated every 3 minutes</p>" >> $STREAM.record.html
while read LINKS; do
/bin/echo "<a href="$REC_PATH/$LINKS">"$LINKS"</a>" >> $STREAM.record.html
/bin/echo "<video width='100%' controls>" >> $STREAM.record.html
/bin/echo "<source src='$REC_PATH/$LINKS' type='video/mp4'>" >> $STREAM.record.html
/bin/echo "Your browser does not support the HTML5 video player. Please download the file and play locally. Thank you." >> $STREAM.record.html
/bin/echo "</video>" >> $STREAM.record.html
done <$STREAM.record.list
/bin/echo "</body>" >> $STREAM.record.html
/bin/echo "</html>" >> $STREAM.record.html
RECORD_HTML=`cat $STREAM.record.html`
echo "ID BELOW"
echo $POST_ID
/usr/local/bin/wp --path=$WP_PATH post update $POST_ID --post_content="$RECORD_HTML"
ID=`/usr/local/bin/wp --path=$WP_PATH post list --post_type=page --fields=ID,post_title | /bin/grep $STREAM | /usr/bin/awk '{print $1}'`
/bin/rm $STREAM.record.list
if /bin/grep $STREAM livestreams.list; then
echo $STREAM" is online"
/bin/echo $RTMP_PATH/$STREAM > $ASSETS/$STREAM.m3u
/bin/echo "<html>" >> $STREAM.livetemplate.html
/bin/echo "<head>" >> $STREAM.livetemplate.html
/bin/echo "<script src=http://"$IP_ADDRESS"/jwplayer/jwplayer.js></script>" >> $STREAM.livetemplate.html
/bin/echo "</head>" >> $STREAM.livetemplate.html
/bin/echo "<body>" >> $STREAM.livetemplate.html
/bin/echo "<div id="$STREAM"></div>" >> $STREAM.livetemplate.html
/bin/echo "<script>// <![CDATA[" >> $STREAM.livetemplate.html
/bin/echo "jwplayer('"$STREAM"').setup({ file: '"$RTMP_PATH/$STREAM"', image: '//"$IMAGE_PATH"', title: '"$STREAM"', width: '100%', aspectratio: '16:9' });" >> $STREAM.livetemplate.html
/bin/echo "// ]]></script>" >> $STREAM.livetemplate.html
/bin/echo $STREAM" is online and streaming as of "`date` >> $STREAM.livetemplate.html
/bin/echo "<a href="$WEB_ASSETS/$STREAM".m3u>VLC LINK</a> (Right Click and Save-as)" >> $STREAM.livetemplate.html
/bin/echo "<p></p>" >> $STREAM.livetemplate.html
/bin/echo "<h1><a href="http://$IP_ADDRESS"/"$STREAM"-recordings>"$STREAM"'s past recordings</a></h1>" >> $STREAM.livetemplate.html
/bin/echo "</body>" >> $STREAM.livetemplate.html
/bin/echo "</html>" >> $STREAM.livetemplate.html
LIVE_HTML=`cat $STREAM.livetemplate.html`
/usr/local/bin/wp --path=$WP_PATH post update $ID --post_content="$LIVE_HTML"
/bin/rm $STREAM.livetemplate.html
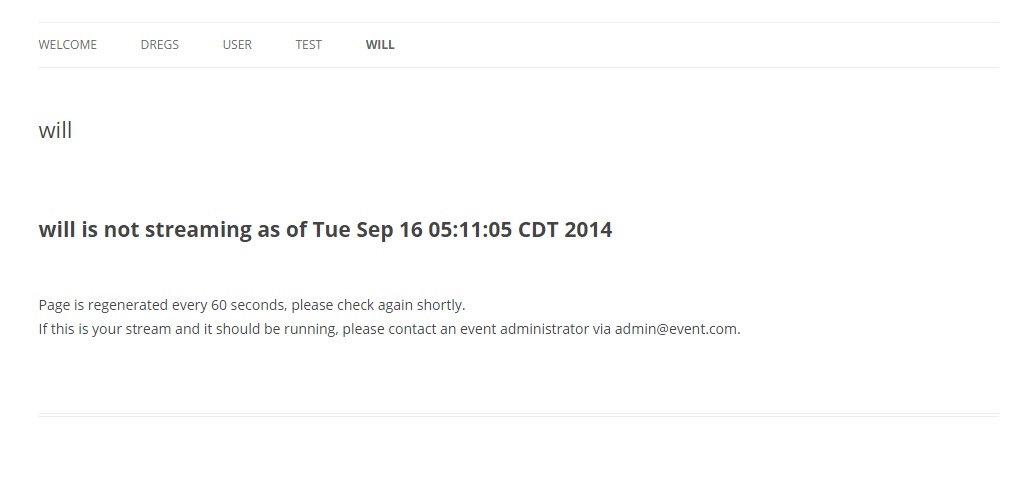
else
/bin/echo $STREAM" is offline"
/bin/echo "<html>" >> $STREAM.deadtemplate.html
#/bin/echo "<head></head>" >> $STREAM.deadtemplate.html
/bin/echo "<h1>"$STREAM" is not streaming as of "`date`" </h1>" >> $STREAM.deadtemplate.html
/bin/echo "<body>" >> $STREAM.deadtemplate.html
#/bin/echo "<p></p>" >> $STREAM.deadtemplate.html
/bin/echo "<h1><a href="http://$IP_ADDRESS"/"$STREAM"-recordings>"$STREAM"'s past recordings</a></h1>" >> $STREAM.deadtemplate.html
/bin/echo "Page is regenerated every 60 seconds, please check again shortly." >> $STREAM.deadtemplate.html
/bin/echo "If this is your stream and it should be running, please contact an event administrator." >> $STREAM.deadtemplate.html #This string can be modified to meet your requirements.
/bin/echo "</body>" >> $STREAM.deadtemplate.html
/bin/echo "</html>" >> $STREAM.deadtemplate.html
DEAD_HTML=`cat $STREAM.deadtemplate.html`
/usr/local/bin/wp --path=$WP_PATH post update $ID --post_content="$DEAD_HTML"
/bin/rm $STREAM.deadtemplate.html
fi
/bin/rm $STREAM.record.html
done <$MASTER
#CLEANUP to remove some temp files that we don't need. These could be converted into arrays at a later point, but it makes it very simple to use files/grep.
/bin/rm stats.xml
/bin/rm id_title.list
/bin/rm livestreams.list
/bin/rm unsanitized.list
/bin/rm toadd.list
#This last line is useful for logging. If you run this script as a cronjob and send the output to a log file, you will see when the last time the script ran.
/bin/echo "Script finished at" `date`
Then we will create the recording_watcher.sh script. This will check for new recordings, and if it finds any, it will process them and move them to the web server directory. From there, users can view them.
sudo nano /opt/nginx_scripts/recording_watcher.sh
#!/bin/bash
#This script watches the /opt/ngnix_rtmp/live_recording directory for .flv files and converts them to .mp4 to make sharing the videos easier within a web browser.

#Enter the path to the script (ex: /opt/nginx_scripts)
SCRIPT_PATH=/opt/nginx_scripts
#Enter the path that NGINX-RTMP is saving files to. (ex: /opt/nginx_scripts/live_recording)
RTMP_RECORD=/opt/nginx_scripts/live_recording
#Enter the path to the webserver directory that the videos will be placed into. (ex: /var/www/wordpress/rec/mp4)
REC=/var/www/wordpress/rec/mp4

cd $RTMP_RECORD
#List all files in the /opt/nginx_rtmp/live_recording directory that match .flv. It writes the list to the flash_vids.list file with the full path.
ls -d -1 $PWD/** | grep .flv > $SCRIPT_PATH/flash_vids.list
#lsof is used to find what files are currently open by the OS. We use it here to see what files are open in the /opt/nginx_rtmp/live_recordings directory that match .flv. If it finds a
#file currently open, it places the name of the file into the writing_vids.list file.
lsof $RTMP_RECORD/* | grep .flv | /usr/bin/awk '{print $9}' > $SCRIPT_PATH/writing_vids.list
cd $SCRIPT_PATH

#Loop below reads through the writing_vids.list file and cross references it to the flash_vids.list file. If there's a match, it removes the active file from the flash_vids.list file.
#These files will not be processed in the next loop.
while read WRITING; do
grep -v $WRITING flash_vids.list > flash.tmp
mv flash.tmp flash_vids.list
done <writing_vids.list

#Sed strips the full path from the file names within the flash_vids.list file.
#!!!!!!!!!!!!!!!!!! ENTER THE CORRECT PATH BELOW. SHOULD BE THE SAME AS RTMP_RECORD VARIABLE. THANK YOU !!!!!!!!!!!!!!!!!!!!!!!!!!!

sed -i 's/\/opt\/nginx_scripts\/live_recording\///g' flash_vids.list
#Loop below reads through the flash_vids.list file and processes each .flv with avconv. It losslessly (and quickly!) converts the .flv video file to .mp4. It then removes the .flv pattern
#from the filenames. At the end it removes the .flv file.
while read FLASH; do
/usr/bin/avconv -i $RTMP_RECORD/$FLASH -vcodec copy -acodec copy $RTMP_RECORD/$FLASH.mp4
/usr/bin/rename 's/.flv//g' $RTMP_RECORD/$FLASH.mp4
/bin/rm $RTMP_RECORD/$FLASH
done <flash_vids.list

#Cleanup. Move all .mp4 files to the /var/www/wordpress/rec/mp4/ directory, and deletes the flash_vids.list and writing_vids.list files.
/bin/mv $RTMP_RECORD/*.mp4 $REC
/bin/rm flash_vids.list
/bin/rm writing_vids.list
Save that file as well. Now you should have 2 scripts, nginx_watcher and recording_watcher. Now we need to assign some final permissions and ownerships, and create a cron job to run every 60 seconds.
sudo chmod a+x nginx_watcher.sh
sudo chmod a+x recording_watcher.sh
sudo chown www-data:www-data nginx_watcher.sh
sudo chown www-data:www-data recording_watcher.sh
sudo mkdir /opt/nginx_scripts/live_recording
sudo chown www-data:www-data /opt/nginx_scripts/live_recording

sudo -u www-data -s #change to the www-data user to add a cronjob.
./nginx_watcher.sh
./recording_watcher.sh
#those should both run.
crontab -e
*/1 * * * * /opt/nginx_scripts/nginx_watcher.sh >> /opt/nginx_scripts/nginx_watcher.log
*/3 * * * * /opt/nginx_scripts/recording_watcher.sh >> /opt/nginx_scripts/recording_watcher.log
touch /opt/nginx_scripts/nginx_watcher.log
touch /opt/nginx_scripts/recording_watcher.log
exit
If all went well, you should now have a fully functional Nginx-RTMP + WordPress installation capable of handling streaming sources and clients. It should be able to record all streams running through it.
Troubleshooting Tips
- Make sure paths are correct in all scripts, symlinks, etc
- Doublecheck permissions, especially in the www folder and the scripts folder
- Make sure all paths exist
- If you’re having problems, check the log for nginx and the script
- Run the scripts and check for errors in their output
- If all else fails, leave a comment below.
If you have a large event coming up and would like to use this for your streaming needs, please feel free to email me at coast.willstare [@] gmail.com. I can work with you to provide assistance, or even meet additional requirements.
There may be errors in this guide. If you spot any, please leave a comment. Thanks!